Thick, bushy eyebrows are the definition of timeless. They frame the face, define the eye structure, and arguably play the biggest role in how your overall beauty is perceived. If your natural brows are sparse or thin, and DIY growth serums feel like too much hassle, you can still achieve that lush look with a few clever makeup tricks. You don’t need a full toolkit. Just a few products can act like a magic wand to reshape and fill in your brows instantly.
Brush Up for Instant Volume
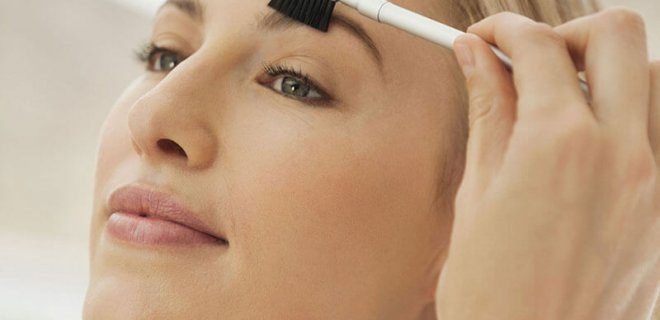
The first move is simple but transformative. Grab a small brow brush and comb your hairs straight up. This alone changes the geometry of your brow, exposing the full length of each hair. It creates immediate volume and reveals any sparse areas that need hiding.
If the upward brushing exposes hairs that are uneven or too long, trim them. Use small, precise scissors. Big shears are too clumsy for this delicate work. Snip only what sticks out too far. Keep the rest intact. This step alone can make thin brows look denser and more intentional.
Refining with Concealer
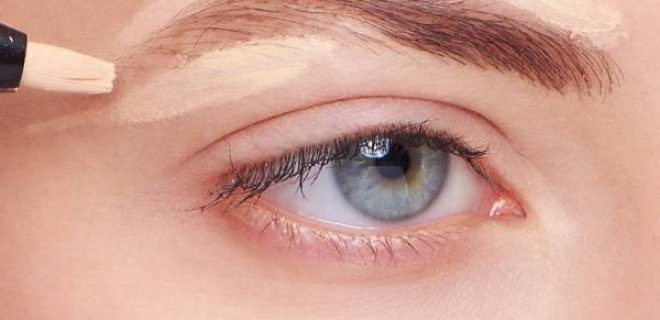
Once your brow gel has set and you’ve brushed those hairs into place, it’s time to sharpen the edges. Grab a flat, synthetic brush — stiff bristles work better here than fluffy ones — and dip it into a concealer that matches your skin tone exactly.
You’re not trying to highlight. You’re trying to erase.
Sweep the concealer along the bottom and top borders of your brows. This does two things: it cleans up stray hairs and creates a stark, defined shape that makes the brow look intentionally groomed rather than just naturally messy. If you’re working with sparse areas, a light dusting here can also mimic the shadow of hair, adding depth where there isn’t any.
Let it sit. Don’t rush. Give it two or three minutes to dry down completely on your skin. If you move it too soon, you’ll smear the product into the hairs you just painstakingly brushed upward, ruining the laminated effect. Patience pays off in crisp lines.
Building the Final Layers: Pencil and Brush
Here is where most people get it wrong. They think the work is done once the concealer is blended. It isn’t.
The concealer creates a blank canvas. It removes the shadows. It defines the arch. But without pigment, the brow looks washed out. It looks unfinished. That is why you need the pencil.
Apply the eyebrow pencil directly over the concealed area. Use light, hair-like strokes. Do not draw a block of color. You want to mimic the direction of your natural hair growth. This adds texture. It adds depth.
Then comes the brush.
Use a spoolie to comb through the brows. This step is non-negotiable if you want a natural look. The brush blends the pencil pigment into the skin and existing hairs. It softens any harsh lines. It makes the application look effortless.
Why does this work? Because the concealer provides the structure. The pencil provides the density. The brush provides the finish.
For sparse brows, this combination creates the illusion of thickness. The result is fuller. It looks healthier. It looks intentional.
Choose a pencil that matches your natural brow tone exactly. Or go half a shade lighter for a softer effect. If you use brow powder, apply it with an angled brush before the pencil. The layering technique is what builds volume.
Start with the pencil. Then blend with the brush. Repeat until the brows frame your face.

Why you should stop plucking your brows to get them thicker
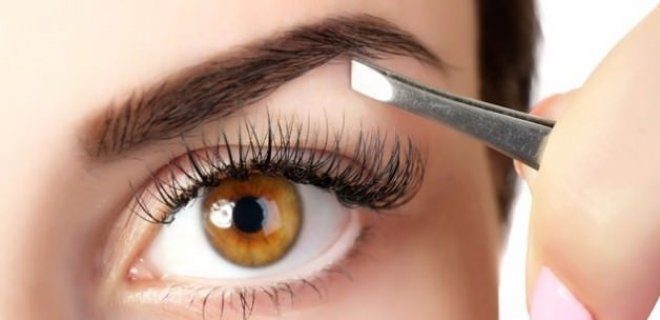
If you are chasing that bold, thick brow look, the first rule is simple: put down the tweezers. Or at least, put them away for a while. Letting your brows grow out naturally is the most straightforward way to build density. But here is where most women get it wrong. They treat “letting it grow” as permission to ignore their shape entirely.
The result? A fuzzy, uneven mess that looks neglected rather than intentional.
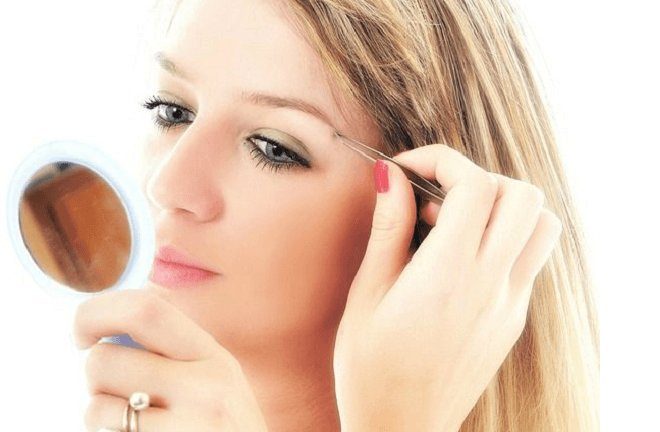
The trick isn’t to leave them completely alone. It’s to touch them as little as possible. Keep the tweezers nearby only for stray hairs that run way outside the main brow line. Maybe a single hair that wanders down the temple or one that crosses the bridge of the nose. Everything else? Leave it.
You want volume, not chaos.
Constant plucking signals your hair follicles to slow down. If you want thickness, you need to give the hair time to complete its growth cycle. That takes time. Real time. Not just a few days. But if you keep editing it every week, you reset the clock.
So, be patient. Let the bulk grow. Then, and only then, do minimal maintenance to keep the edges clean. It is a balance between wild growth and tidy shape. Do not let the fear of an ugly phase make you pluck too early. The thickness is worth the wait.
The Oils and Supplements That Actually Work
Want thicker brows without the commitment of tattooing or daily makeup? You might just need to look at what you’re putting on and in your body. It sounds like a trend, but for many women, switching to specific care oils and vitamins makes the difference between sparse patches and a full, natural arch.
It’s not magic. It’s biology.
Your hair follicles need fuel. If you’re deficient in certain nutrients, your brows are often the first place to show it. They stop growing, they get thin, or they fall out faster than they replace themselves. That’s where the internal work starts.
Which vitamins actually help?
You don’t need a pharmacy aisle. Focus on the basics that support hair growth:
- Biotin (Vitamin B7): Known as the hair vitamin. It helps produce keratin, the protein your brows are made of.
- Vitamin E: An antioxidant that improves blood circulation to the follicle. More blood flow means more nutrients reaching the root.
- Omega-3 Fatty Acids: Found in fish oil or flaxseed. They reduce inflammation and keep the skin around the brows hydrated, creating a healthy environment for growth.
“Supplements work best when you’re actually deficient. If your levels are already normal, adding more won’t necessarily make them grow faster.”
Topical oils: The external boost
Internal support is step one. Step two is feeding the individual hairs. Several natural oils have evidence behind them for promoting thickness:
- Castor Oil: The most popular choice. It’s thick, rich in ricinoleic acid, and helps lock in moisture. The theory is that it reduces inflammation and stimulates circulation. Apply it nightly with a clean spoolie.
- Jojoba Oil: Closely mimics the skin’s natural sebum. It’s lightweight and won’t clog pores, making it great for sensitive skin types.
- Rosemary Oil: Studies suggest it may be as effective as minoxidil for hair growth, but you must dilute it with a carrier oil like jojoba or coconut. Never apply it pure.
How to apply them correctly
Most people overcomplicate this. They don’t need to.
- Cleanse: Start with a clean face. No makeup, no oils, no residue.
- Apply: Use a clean spoolie brush or a cotton swab. Dip it lightly into your chosen oil.
- Massage: Gently massage it into the brow area. Don’t rub hard. You’re stimulating blood flow, not scrubbing.
- Leave it: Let it sit overnight. If you’re applying during the day, let it absorb for 20 minutes before applying makeup.
Where to start?
If you’re new to this, don’t buy a $50 serum. Start with castor oil or a simple biotin supplement. Give it at least 8 to 12 weeks. Hair growth cycles are slow. You won’t see changes in a week. You won’t see them in a month.
Patience is the real ingredient.
Consistency matters more than the product itself. Using a cheap castor oil every night
The Frame and Fill Technique
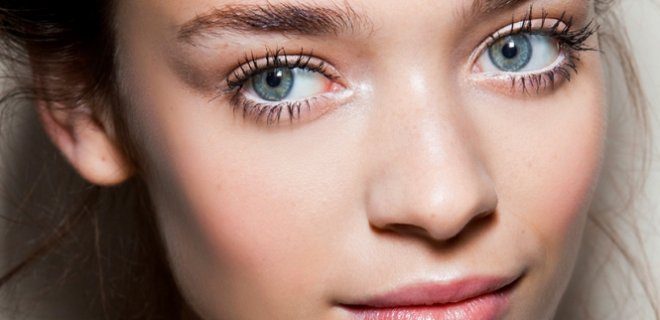
Start with a soft pencil. This is your tool for definition, not harsh lines. Sketch the bottom edge first. Then the top. Keep it light. You are building a structure, not painting a wall.
Once the shape is set, bring in the powder. Pick a shade that matches your brows exactly. Not darker. Not lighter. Just right.
Why powder? Because it fills gaps without the waxy, unnatural look of a heavy pencil. It mimics hair. It adds texture.
Sweep it over the sparse areas. Use short, upward strokes. Follow the natural growth pattern. This makes thin spots look full. It makes the frame you drew with the pencil look seamless.
The goal isn’t to erase your brows. It’s to enhance what’s already there. A little powder goes a long way. Build it up slowly. One layer. Then another. Stop before it looks painted on.
The Final Detail: Concealing the Stray Hairs
If you missed a few tiny, almost invisible hairs during the shaving process, don’t panic. This is where your makeup kit becomes a genuine lifesaver. Grab a small, precise brush and a concealer that matches your skin tone exactly—not your foundation.
Swipe a tiny amount directly over the stray hairs. The pigment masks the shadow, making the hair disappear into your complexion. It’s a quick fix for the tiny mistakes that even the most careful eye can miss.
Why This Step Changes Everything
You might wonder if this extra step is worth the effort. The answer is yes. Shaving gives you that clean, sharp line, but concealing the remnants gives you polish. Without it, those tiny shadows can make the brow look fuzzy or unfinished, especially in bright light or on camera.
With the concealer in place, the brow looks dense and intentional. It’s no longer just “shaven”; it’s shaped. You get that thick, defined look we all want without the commitment of waxing or the precision required for tweezing every single hair.
Practical Tips for a Natural Look
- Match your skin, not your brow: Using a concealer that is too light will make the area look chalky. Stick to your exact skin shade.
- Use a small brush: A fluffy eyeshadow brush or a tiny angled brush works best. Your finger might smudge it too much.
- Set it lightly: If you have oily skin, dust a tiny bit of translucent powder over the area to keep the concealer in place all day.
Now, step back and look. The harsh line is softened, the stray hairs are gone, and the brow has structure. You can finally enjoy that bold, well-groomed look. It’s simple. It’s fast. And it works.
The Hidden Cost of the “Clean” Beauty Myth
We need to talk about the ingredients list. Or rather, the lack of one.
The “clean beauty” movement has morphed from a niche ethical stance into a multi-billion dollar marketing engine. And while the intention was noble—pushing back against harsh chemicals—it has created a new kind of anxiety. You walk into a store, pick up a moisturizer labeled “non-toxic,” and suddenly feel guilty for using anything else.
Here is the reality check: fear is not a skincare strategy.
Many products marketed as “clean” skip the crucial step of clinical testing. They rely on natural preservatives that may not actually preserve the product effectively against bacteria. Or worse, they use “natural” fragrances that are just as likely to cause allergic reactions as synthetic ones, but are harder to pin down because “fragrance” is a catch-all term protected by trade secret laws.
“Natural” does not mean safe. Poison ivy is natural. Arsenic is natural.
The goal isn’t to purge your bathroom of every molecule derived from a lab. It is to understand what you are putting on your skin. Look for transparency. If a brand hides behind a vague “eco-friendly” badge but won’t list their full ingredient deck, that is a red flag. Real safety comes from regulation and disclosure, not just good vibes and bamboo packaging.
Sustainable Fashion: Moving Beyond the Guilt
Fast fashion’s environmental toll is well documented. The water usage, the textile waste, the labor practices—it’s a heavy load. But for most women, the solution isn’t to stop buying clothes entirely. That’s not realistic. The solution is curating.
Start by auditing your current closet. How many times have you worn that item in the last six months? If the answer is zero, it’s time to let it go. Sell it. Donate it. Repurpose it.
When you do buy new:
- Check the fiber content. Natural fibers like organic cotton, linen, and wool generally have a lower environmental impact than virgin synthetics, though they aren’t without their own issues (like high water consumption).
- Invest in fit. The most sustainable garment is the one you will actually wear and care for. A $50 dress that fits perfectly and lasts three years is a better buy than a $20 dress that doesn’t fit and ends up in a landfill.
- Learn basic repairs. A loose button or a small tear doesn’t need to be the death knell for a piece of clothing. Learning to sew can extend the life of your garments significantly.
This isn’t about perfection. It’s about intention. Every purchase is a vote for the kind of world you want to live in. Vote wisely, but don’t beat yourself up for being human.
Relationships: The Art of the Quiet Compromise
We are sold the idea that relationships should be effortless. That if you love someone, you just get it.
This is a lie.
Healthy relationships require active negotiation. It’s not about grand gestures or dramatic conversations. It’s the small, daily choices.
- Who takes out the trash when they’re tired?
- Who initiates intimacy when the spark feels low?
- How do we handle money when our priorities are different?
These aren’t problems to